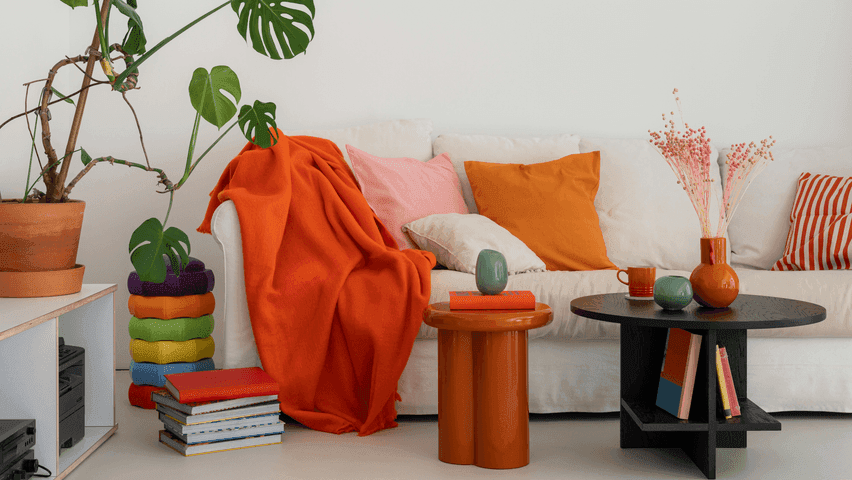
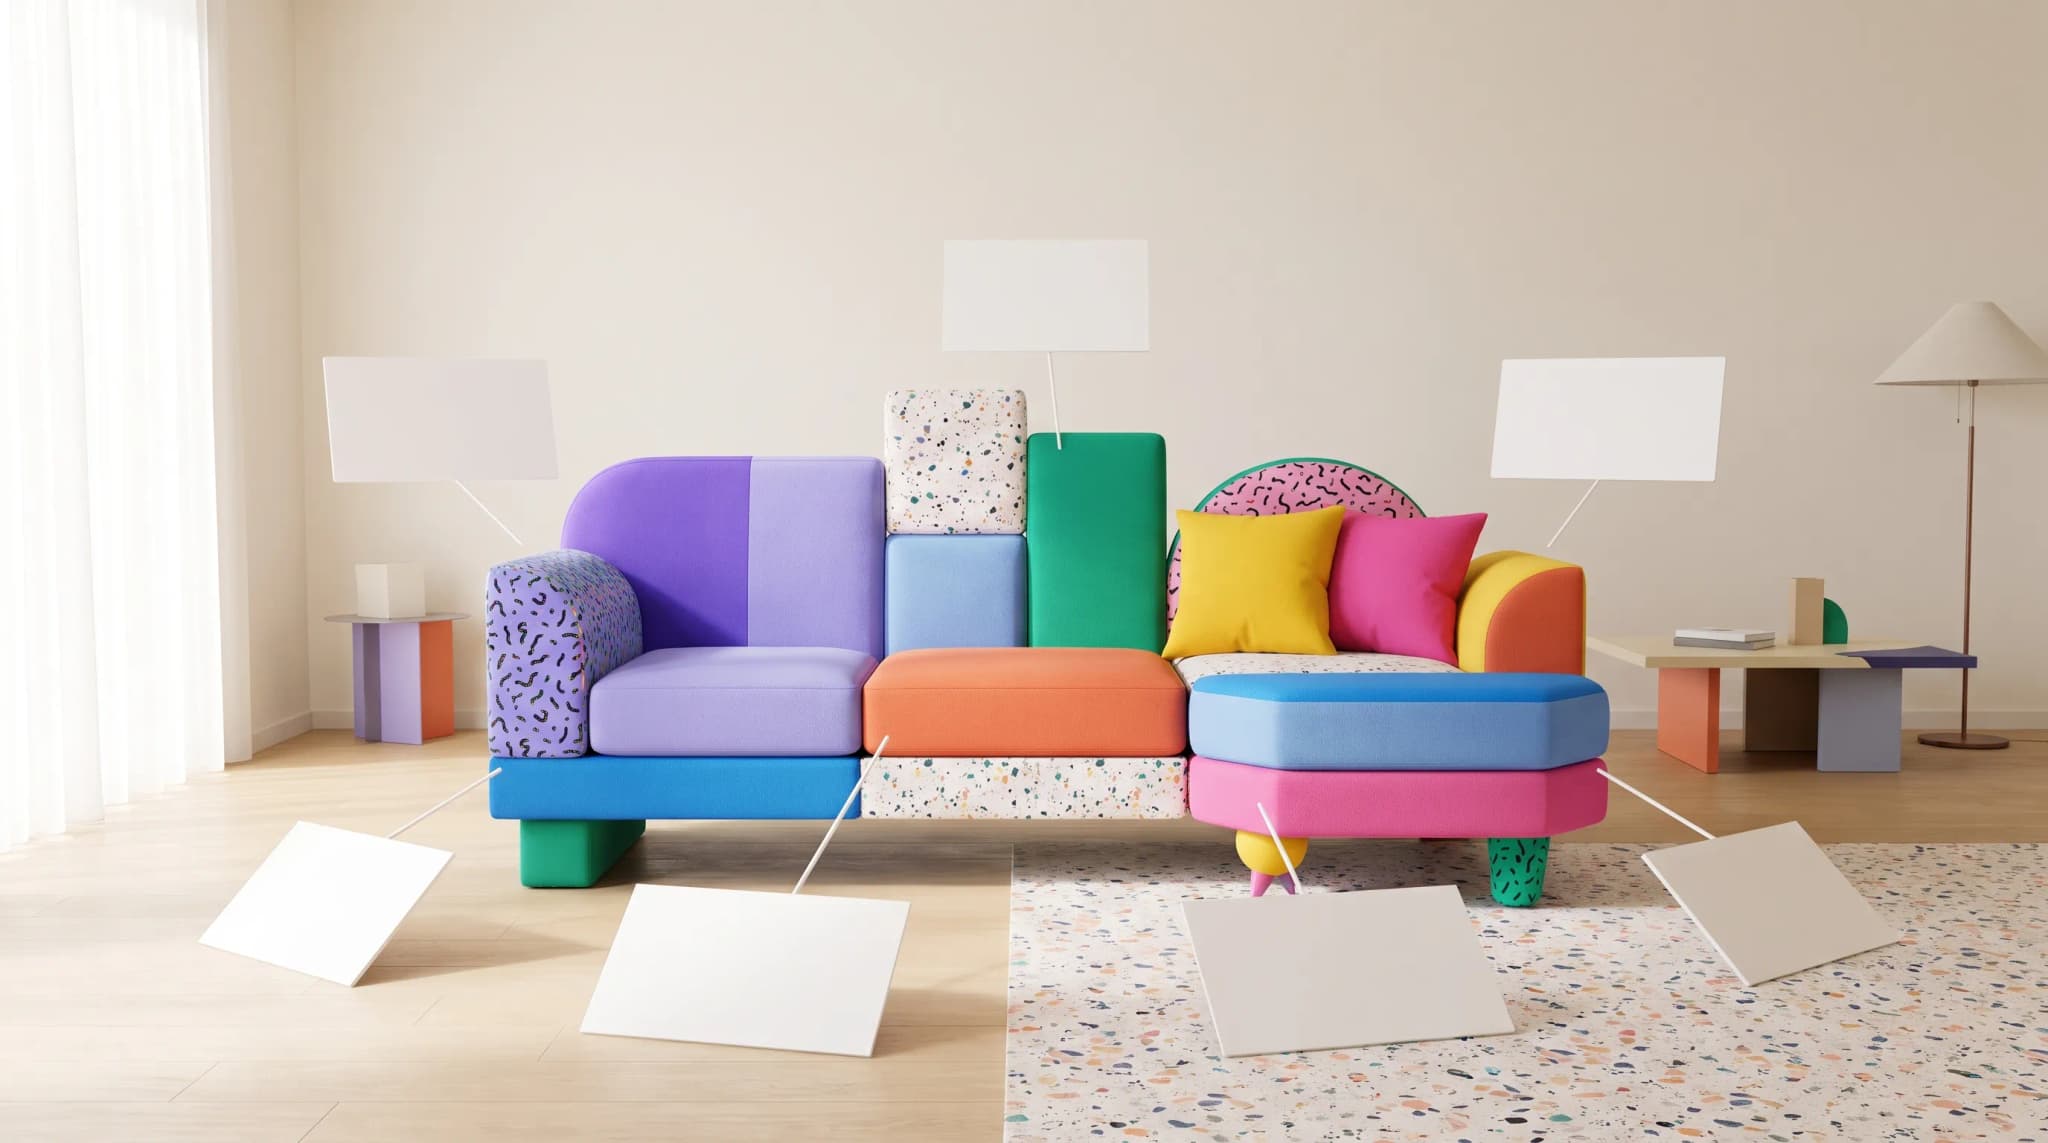
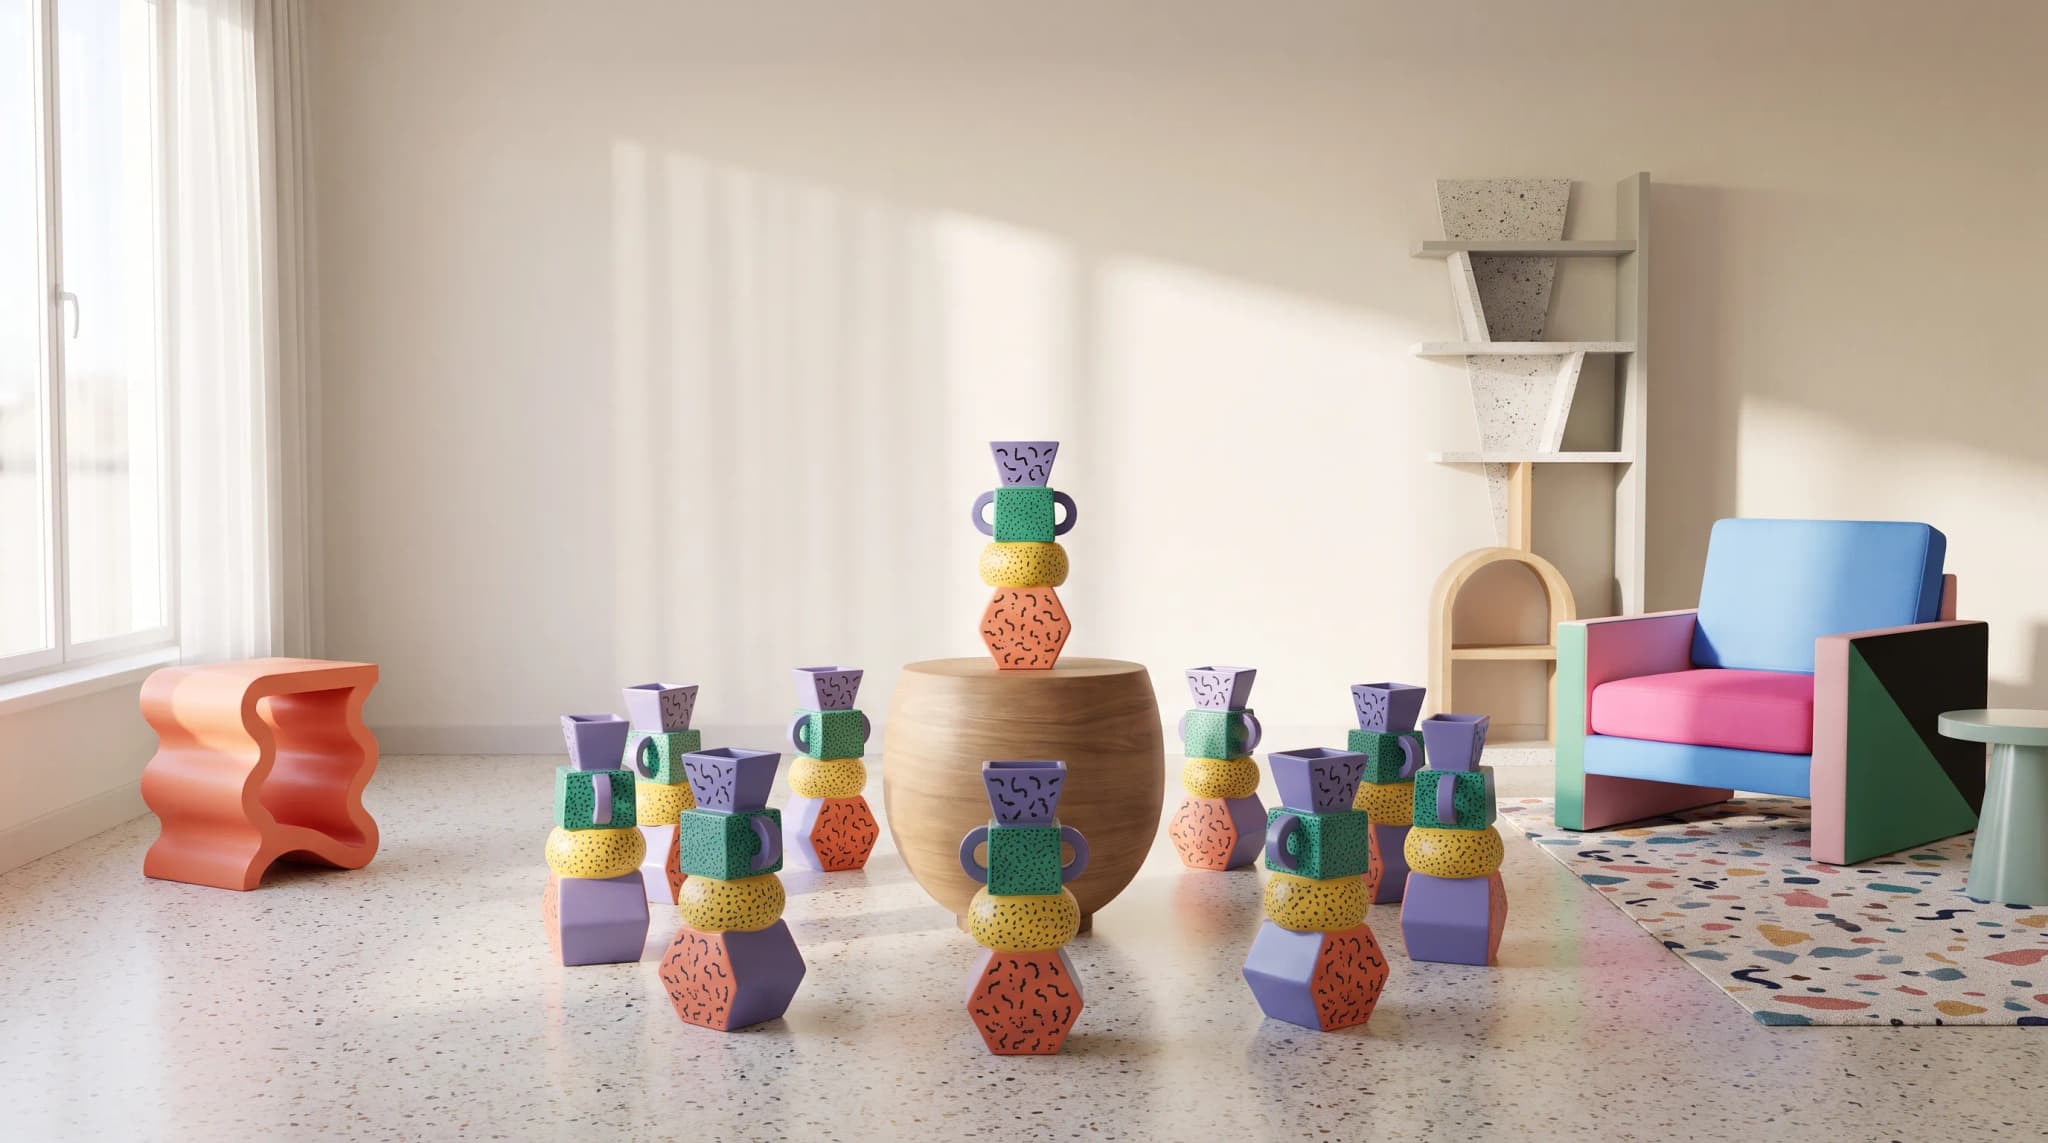
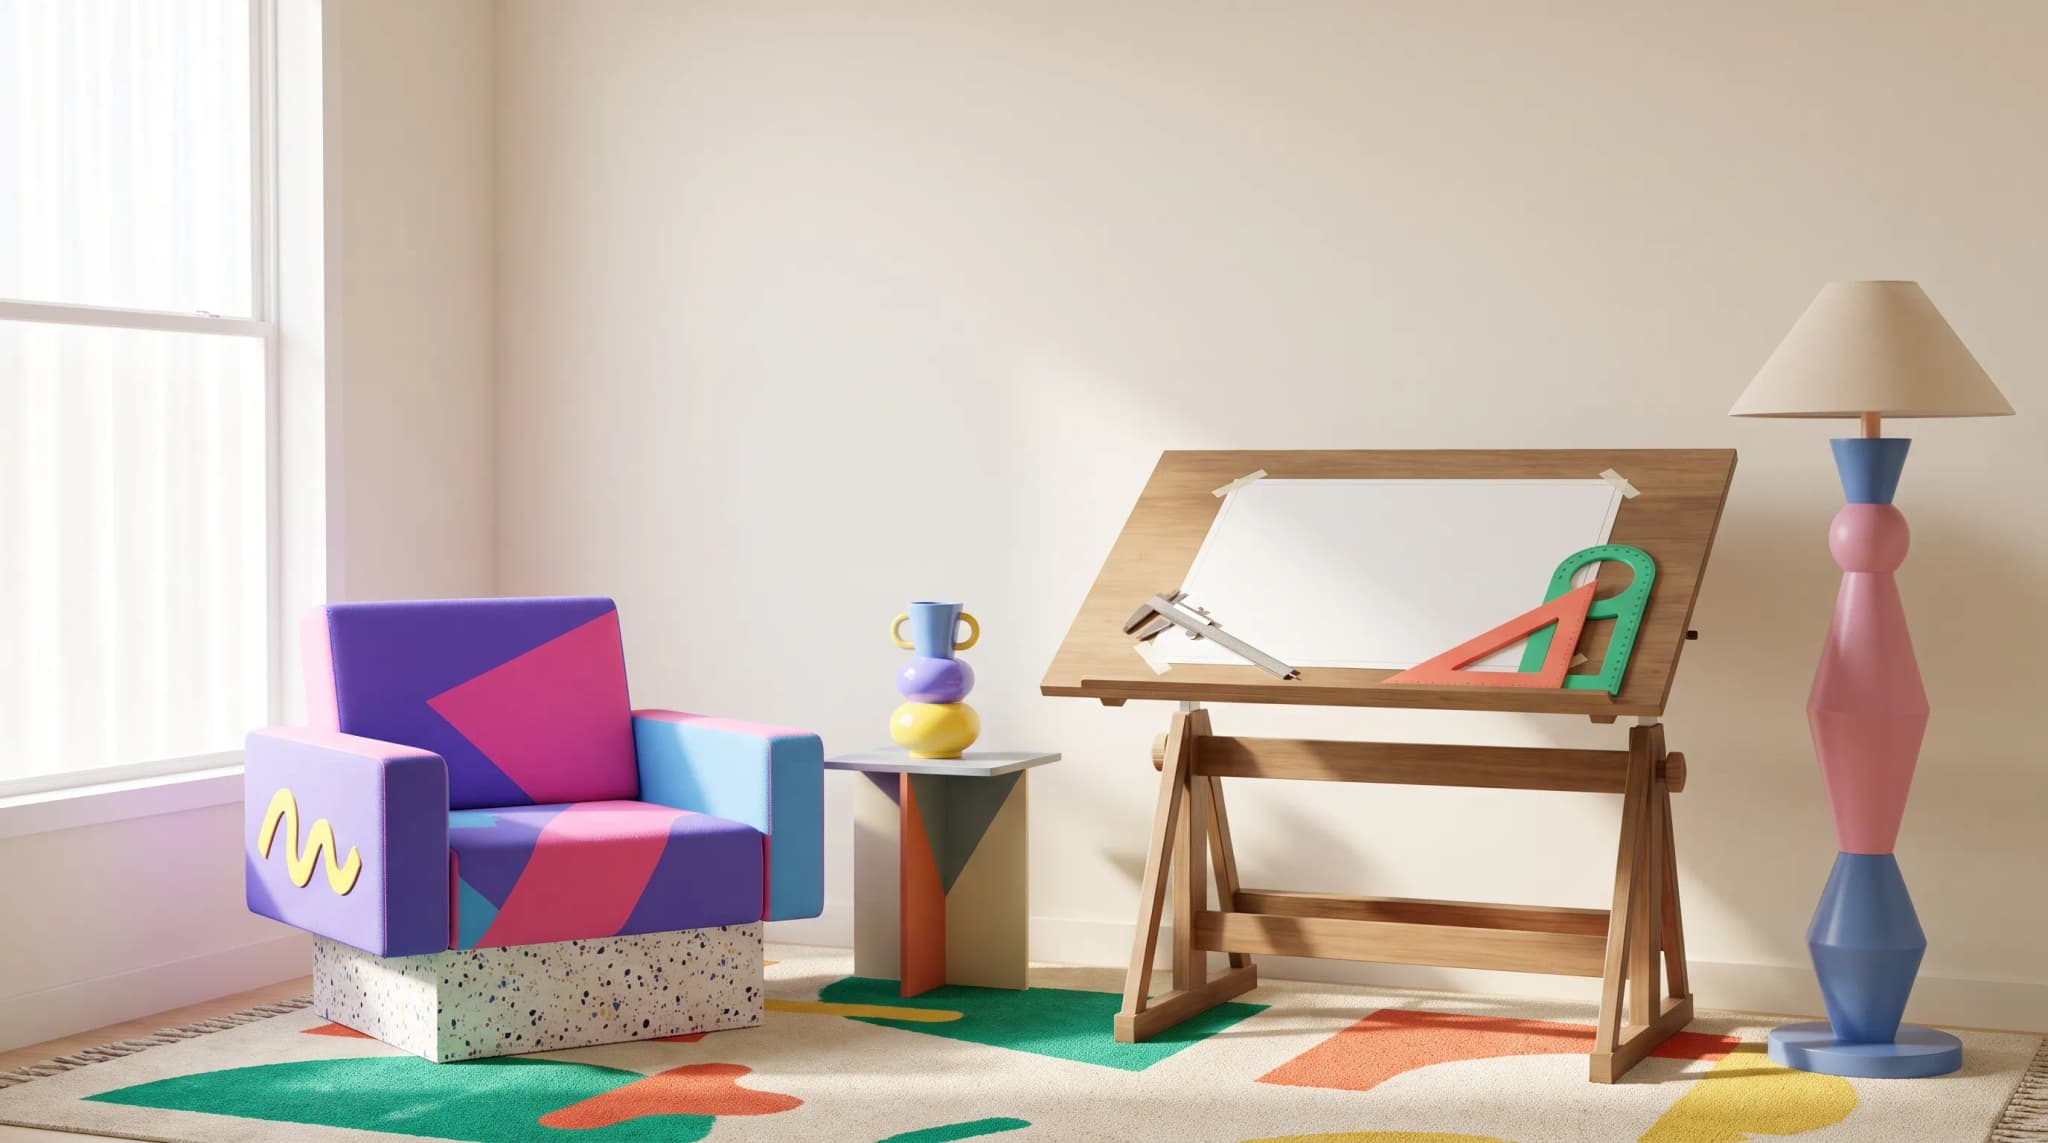
Add or Erase Anything
Power cord ruining your shot? Empty shelf looking bare? Paint over what you want to remove or fill. The AI handles the rest.
AI Studio tool guides:
- Remove Background — One-click cutouts
- Upscale Image — Make any image print-ready
- Product Staging — Stage in any room style
- Edit Specific Area — Pixel-perfect edits
- Edit with Brush — Add or erase anything
- Chat to Edit — Edit by talking
- Perspective Change — New angles, no reshooting
- Line Drawing — Photo to technical drawing
- Carousel — Every angle from one photo
- Product Highlights — Spotlight what sells
Every product photo has something wrong. A power cord. A prop that distracts. An empty shelf that looks bare. You don't need to reshoot. You need a brush.
Edit with Brush has two modes. Add: paint an area, describe what goes there, and the AI generates it. Remove: paint over something, and the AI erases it and fills the space naturally.
The AI understands context. Add a throw pillow and it matches the sofa's lighting. Remove a cord and it continues the floor texture.
For the checks that belong around each edit, see how AI furniture photography works, from source image to approved catalog asset.
When to Use It
Adding Elements
- Props to sparse compositions
- Plants, books, or accessories on surfaces
- Decorative elements that complement the piece
Removing Distractions
- Power cords and cables
- Price tags and labels
- Equipment reflections
- Background clutter
Generative Fill
- Fix cropping by extending the image
- Fill corners where the backdrop ended
- Extend surfaces that were cut short
After extending the scene, check how to spot and fix the uncanny valley in furniture images, especially shadows, scale and repeated textures.
Missed a Shot
Photographed drawers closed but need them open? Forgot an angle? Paint what you need.
For a precise material or hardware correction, Edit Specific Area lets you mask the detail you want to change.
How to Use It
Step 1: Upload Your Image
Select your photo. Full resolution canvas for precise work.
Step 2: Choose Your Mode
Add (red strokes): Generates new content where you paint. Remove (blue strokes): Erases what you paint and fills naturally. Switch between both in one session.
Step 3: Paint
Brush size: 4px for detail, 256px for large areas. Paint generously over the area you want to affect.
Step 4: Describe (Optional)
For Add: "A small potted succulent" or "Leather-bound books stacked horizontally."
For Remove: Leave blank—the AI fills naturally. Or add specifics: "Continue the hardwood floor pattern."
Step 5: Reference Images (Optional)
Upload photos of specific props, textures, or styles to guide the AI.
Step 6: Generate and Review
Each variation interprets your instructions slightly differently. Pick the best one.
Advanced Features
Assist Mode: AI rewrites your prompt for better results. Reference Images: Attach photos to guide generation. Advanced settings: Seed, Guidance, Steps, Inpaint Strength for fine control. Quality toggle: Quality for final deliverables, Fast for exploration.
Tips for Best Results
Paint Complete Areas
Removing? Cover the entire object, including shadows. Adding? Paint the full area where the element should appear.
Be Specific in Add Mode
"Add something here" gets you nothing useful. "A modern black table lamp with fabric shade, turned on with warm light" gets you exactly that.
Trust Remove Mode
You rarely need a prompt for removal. The AI reads context. Cord on wood floor? It continues the wood. Object on a rug? It extends the pattern.
Work in Layers
Complex edits work best in passes:
- Remove distracting elements
- Add desired props
- Fine-tune details
For an edit you can describe more easily than mask, use Chat to Edit to work through the change in conversation.
Practical Applications
Cord Cleanup
Power cord across the floor. Paint it in Remove mode. The AI removes it and continues the floor texture.
Prop Addition
Console table looks bare. Paint the empty space in Add mode. Prompt: "stacked design books with neutral linen covers." Books appear, matching the scene.
Tag Removal
Price tags on every piece. Paint over them in Remove mode. They vanish into the surrounding surface.
Shelf Styling
Empty bookshelf photographed for product focus. Need a lifestyle version? Paint the shelves in Add mode: "curated mix of books, ceramics, and small plants." Styled without logistics.
Equipment Removal
Tripod leg at the edge of frame. Paint it away. The floor extends to fill the gap, boards and grain continuing.
Cost and Credits
Credits scale with output size and variations. Cost shows before you generate.
Frequently asked questions
What are the two modes in Edit with Brush?
Add and Remove. In Add mode (red strokes) you paint an area, describe what goes there, and the AI generates it, matching the scene's lighting. In Remove mode (blue strokes) you paint over something and the AI erases it and fills the space naturally. You can switch between both in one session, with a brush from 4px to 256px.
Do I need to write a prompt to remove something?
Rarely. Leave the prompt blank and the AI reads the context: a cord on a wood floor is replaced with continued wood, an object on a rug with the extended pattern. You can add specifics such as "Continue the hardwood floor pattern" if you want. Whatever you remove, paint over the entire object, including its shadows.
How do I get a good result in Add mode?
Paint the full area where the element should appear and be specific about it. "Add something here" gets you nothing useful; "A modern black table lamp with fabric shade, turned on with warm light" gets you that. Reference photos of specific props, textures or styles help guide the AI, and Assist Mode rewrites your prompt for better results.
Can Edit with Brush extend an image or fix cropping?
Yes. Generative fill covers extending the image to fix cropping, filling corners where the backdrop ended and extending surfaces that were cut short. For complex edits, work in passes: remove distractions first, then add props, then fine-tune details. Use the Fast setting for exploration and Quality for final deliverables. Credits scale with output size and variations.
Start editing. Open Edit with Brush and add or erase anything in your product photos.